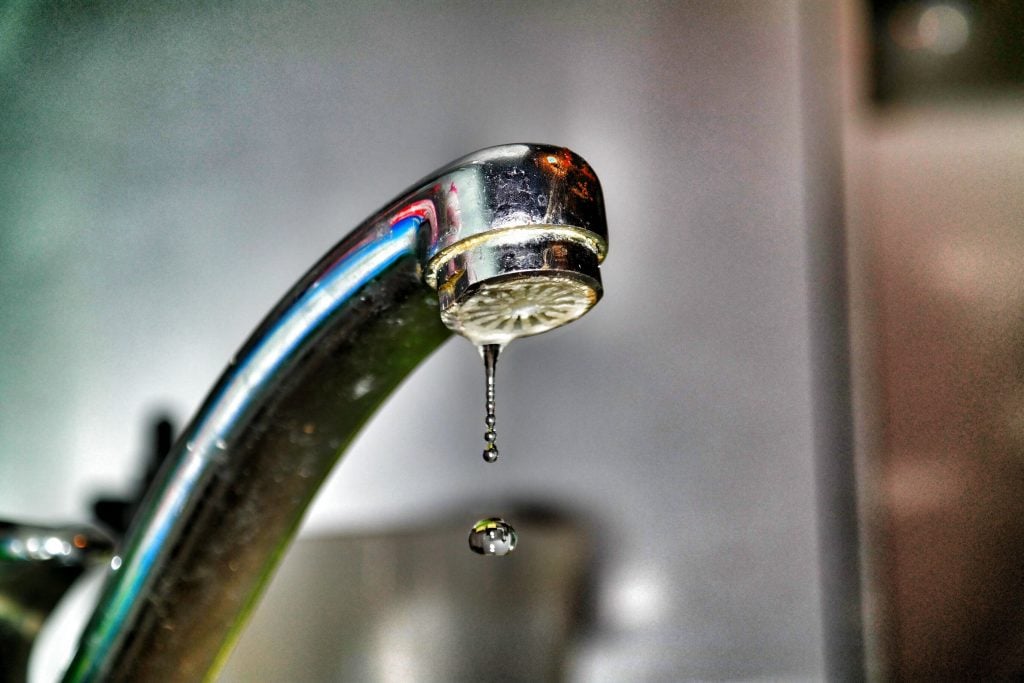
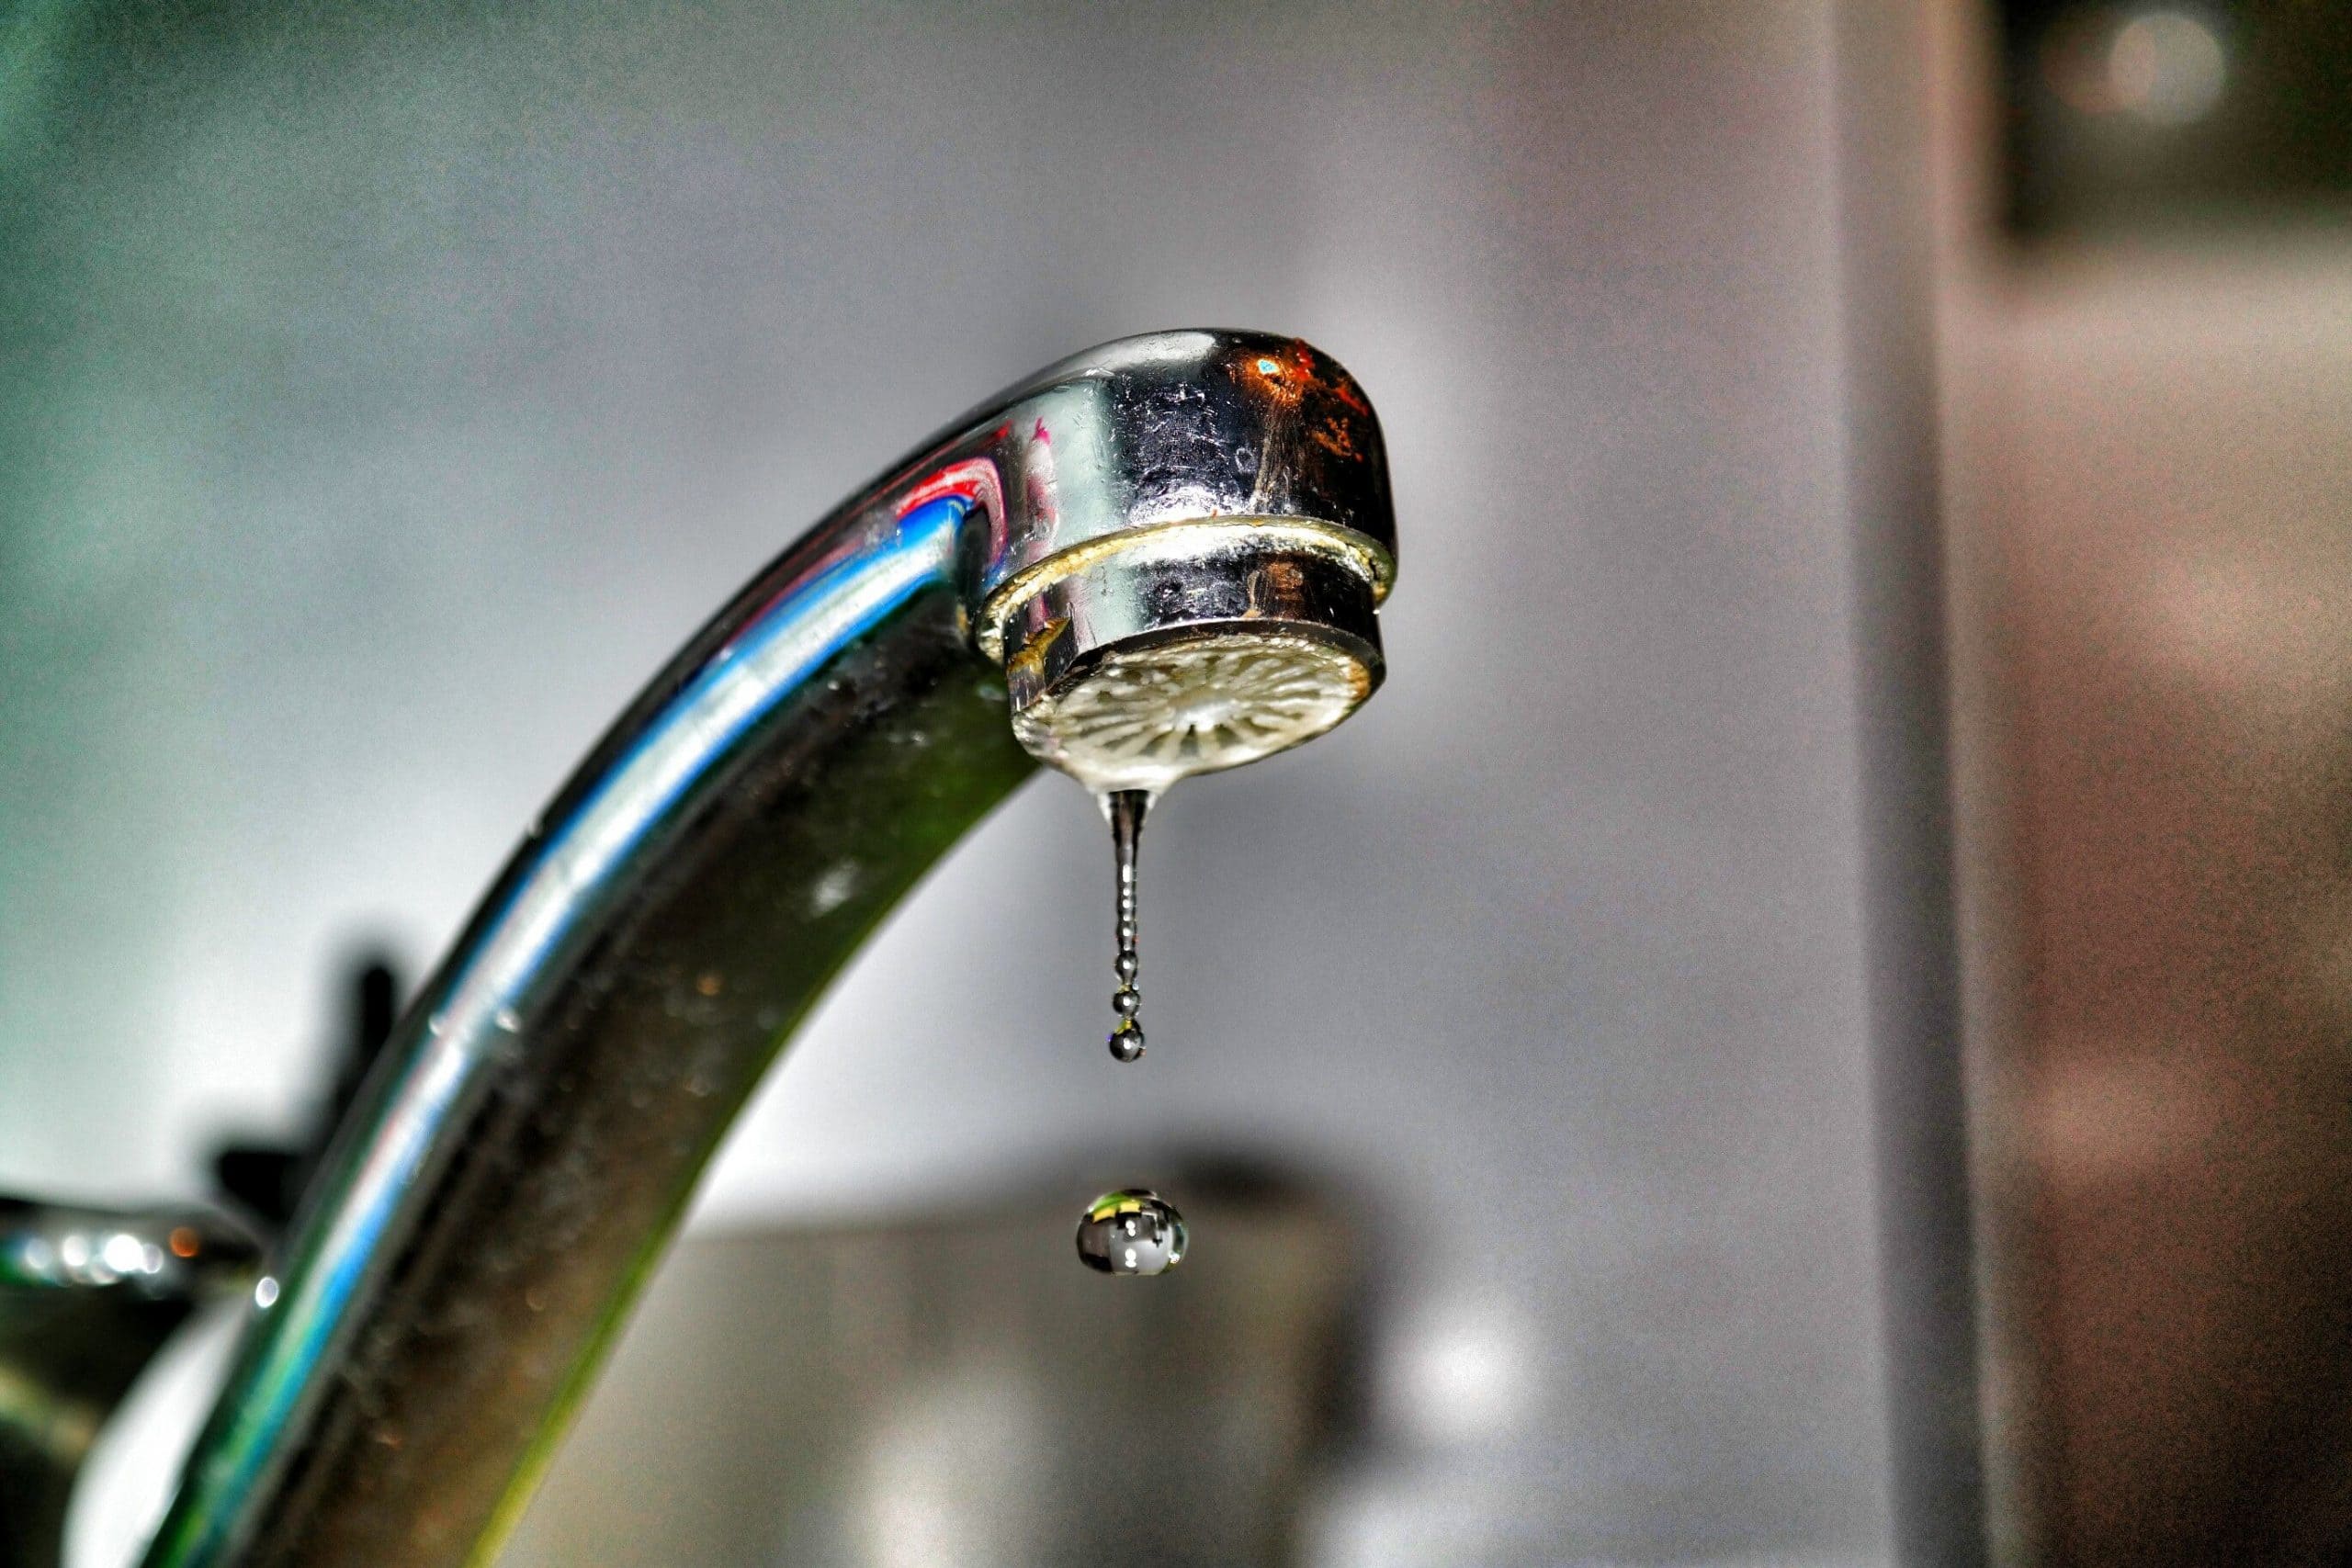
The steady dripping of a leaky tap can be one of the most irritating noises in the world. Not only can the sound of water dripping cause lost sleep and aggravation, but there is a real economic impact as well. A dripping tap can drive up the water bill in a very short time and it literally is hot water going down the drain. In addition to the economic impact, a tap leaking is usually a sign that something is amiss and in need of repair before it gets worse.
Causes of a Dripping Tap
A leaky tap can be frustrating to deal with. They can range from an occasional, light drip to a stronger, more persistent leak. Finding the cause of that leak can be just as frustrating. But it doesn’t have to be. You may just simply be diagnosing the wrong cause of the issue.
- Corroded Valve Seat. If the leak appears to be originating from the spout, it could be an issue with the valve seat, which connects the tap and the spout. A buildup of water sediments can corrode the valve seat, causing a leak. You can avoid this by regularly cleaning the valve seat, generally with the help of a pro.
- Worn-Out Seals. Much like the valve seats, inlet and outlet seals can become corroded by the accumulation of water sediments.
- Water Pressure. If the tap only tends to drip during certain times of the day, or when you move the handles a certain way, your home’s water pressure could be the culprit.
- Loose Parts. The adjusting ring and packing nuts in the stream screw can become loose over time, causing your sink handle to start leaking. Tightening the packing nut or replacing it will usually do the trick to fix the leaky tap.
- Broken Parts. If the leak is coming from the pipes underneath the sink, the cause is most likely a broken pipe or fitting. That’s when you know it’s time to call in a professional plumber.
Repairing a Dripping Tap
But with a dripping tap, it doesn’t matter the tap’s size or design. You only need to change its basin mixer cartridge. If you love DIY projects at home or want to save on your money for fixing your dripping tap, the following guide is for you.
Step 1: Preparation
Before you begin to fix a leaking tap, you’ll need to gather the right tools and perform certain checks. For the most part, you will only require a screwdriver, a drain plug, a wrench, and a small cloth. Some parts may require a replacement, which you can only confirm once you have disassembled the tap and had a look. However, the first step to learning how to fix a leaking tap is plugging the drain and turning off all the valves for the water supply. This will prevent the water from disrupting the repairs or potentially worsening, and will ensure that no screws or parts fall down the drain as you complete your work.
If you’re unable to find the valve, simply look for the pipe below the sink and follow it until you reach a knob or handle. Turn it clockwise to turn off the water, and test this by turning on the tap. The water should stop completely, as well as the leak, and any remaining water in the pipes will empty into the sink immediately.
Step 2: Dismantling
This step will differ based on the type of bathroom fixture that is in place. You will have to use a wrench, screwdriver, or spanner to twist the tap’s handle out of place. Different handles include the standard ball taps, disk taps, compression taps, and cartridge taps. A compression tap is the most common type of tap, with a handle that requires you to press down or lift up to turn the tap on or off. Sometimes, the handles swivel back and forth to complete this mechanism instead.
Step 3: Repairs
To begin repairing the leaking tap, first, undo the screws on the tap’s handles. You may have to remove the hot and cold embellishments to find the screws. Once you have removed the handles, place them aside and begin to remove the nut. You can find this sitting on top of the washer seat, which is usually made of rubber. Once the nut has been removed, slowly detach the washer seat which is likely to be attached to a screw below.
One important thing to know before you learn how to stop a leaking tap is that more often than not, the rubber seat is what causes a leak to begin. Because of the rubber material, it begins to wear out after several uses, requiring a replacement. So once you have removed the washer seat, replace it with a new one. You should also ensure that the new piece is the right size and fit so that it sits properly inside the tap’s mechanism. You may have to remove the worn-out washer by cutting it with a knife. Applying a lubricant such as a grease to the new washer before inserting it can also prove beneficial. This can help seal the new part in its place and allow the tap to operate more smoothly.
A ball tap will require you to buy a special replacement kit to replace the parts since they require certain tools, specially made for these kinds of taps. In case you find yourself unable to purchase one, you can use a regular screwdriver, pliers, and tweezers to get the job done.
Step 4: Reassembling
Once you have mastered how to stop a leaking tap, you must reassemble the tap by using a screwdriver and wrench to put things back in place. Once this is done, turn the water supply back on and slowly open one of the taps. You should refrain from turning it on abruptly to prevent any damage since all the parts have just been reassembled. There shouldn’t be any more leaks, and the water should run more smoothly than before.
In case your tap continues to leak, you may have to reseat the washer. It is possible that it has been fitted loosely, and upon reassembling all the parts, the tightest fit between the handle and washer was not achieved. Simply redo the steps to get it right.
Tips for the Future
Remember not all taps are made equal, and not all of them are built to last. The best way to avoid potentially costly repairs is to start with a top-flight brand. The style of tap you install will also make a difference. Compression-style taps are generally quite easy to repair. Again, cartridge- and ball-style taps don’t have the same kinds of issues, but in some cases, the cartridge itself may need replacing. If you’ve tried doing it yourself and you’re in doubt about the cause of your leaky tap or you just can’t seem to stop the dripping then call a professional. Service Today provides professional plumbing services in Sydney, Melbourne and Adelaide and its surrounding area.


