

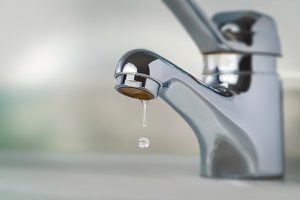
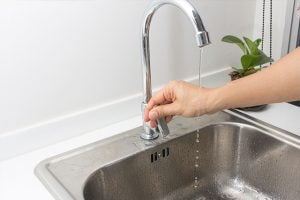
Leaking taps, in any area of the home are a nightmare. The constant dripping sound, water where it shouldn’t be and the damage that leaking taps can cause, are all reasons enough to want to know how to fix a leaking tap DIY style!
When a tap has sprung a leak, the potential reasons behind the leak are varied and many! Identifying the correct cause can not only help you to fix this pesky problem, it can also save you money if you do have to call in a professional. Pinpointing the problem area that is most likely causing the leak can save your plumber time, ultimately saving your pocket from extra labour costs.
Do I need a plumber to fix a leaking tap?
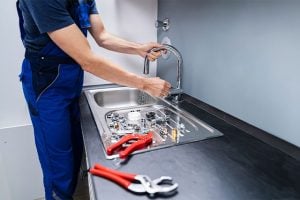
A leaking tap can be more complex than they appear, so if you’re not completely comfortable with your plumbing skills, we recommend calling in a professional plumber.
If you are extremely lucky, you may only need to replace a small part that has worn out, or repair a damaged seal for example. Now these issues can be quite a simple fix, especially if you follow our tips. Unfortunately, there is no quick fix. So if you want to try your hand at some DIY, this guide will help you. But remember, you won’t actually know if your leaking tap is fixed until you go through the entire process.
If the problem persists, make sure you call in a licensed plumber to help you out.
Let’s dig a bit deeper into this common issue.
What causes a leaking tap?
A few common reasons for a leaky tap include:
- The tap washer is the incorrect size
- The washer on the tap has worn out or is broken
- The jumper valve is worn out
- The valve seating has been damaged or has corroded
- The tap washer was incorrectly installed
- The O-ring has worn out or has become loose
How do I identify and fix the issue?
Tools you will need
Flathead Screwdriver
Pliers
Spanner
Tweezers
Turn off the main water supply
Usually the water main is in the front yard, laundry or bathroom.
Turn on the tap
This is required to get rid of any residual water
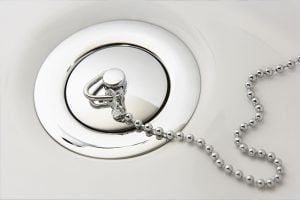
Plug the sink
The last thing you want is to lose any vital pieces of your tap or components. They will literally be down the drain and finding new parts may not be easy.
Remove the tap button, handle, skirt and bonnet
You do this using a screwdriver or spanner to expose the inside of the tap. This will also help to determine the type of tap you have. The tap skirt is usually made from metal and may need a bit of extra wiggling and jiggling to remove it. Once you have the tap skirt off, you can use a pair of pliers to remove the sealant. When doing this, be careful not to scratch or damage your tap. Finally, for the tap bonnet (otherwise known as the tap body), you’ll need the help of a spanner.
Important Note: When disassembling your tap, don’t get the pieces mixed up! Line your parts up on a piece of paper and if you don’t have an elephant memory, it is best to label them. That way you can put your tap back together without wondering if you have done it backwards or upside down!
Remove the washer and jumper valve
Now that the outer pieces have been removed, you’ll be able to locate the washer and jumper valve. Remove both using a pair of tweezers.
Replace the washer and jumper valve
Now it is time for a trip to your local Bunnings or hardware store! Take the washer and jumper valve and buy replacement parts. You may also need to buy some silicone skirt sealant if you had to remove it in the earlier step.
Reassemble the tap
Install the new washer and jumper, ensuring that all the pieces you initially removed have been reassembled in the correct order and aligned properly. Use a spanner to tighten but don’t use the silicone yet, this will be the final step.
Now to test your DIY skills!
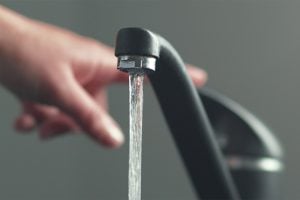
Turn the water back on
The first step is to make sure your tap is turned off. You would be surprised how many people forget to check this. Once you are sure your tap is off, you can turn on the water main.
Test the tap for leaks
Turn the tap on and if it is no longer leaking, congrats you fixed it! Now you can remove the skirt and handle to add silicone to the skirt base as a sealant.
My tap is still leaking 🙁
If your tap is still leaking, this is likely the sign of a much larger issue and you will need the help of a professional plumber.

Book your tap repair with Service Today now
When it comes to leaking taps, or leaks of any kind, the Service Today team of professional plumbers can be on your doorstep the same day, ready to solve this problem for you lickity split!
We are so confident in our technicians doing the best possible job every time, that we back it up with a lifetime workmanship warranty! So you can rest easy, knowing that you not only have the best team for the job, you are also completely covered.
Book a service today on-site, same day visit and get your leaking tap fixed now!